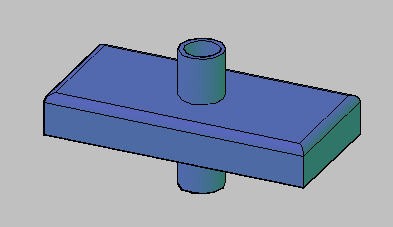
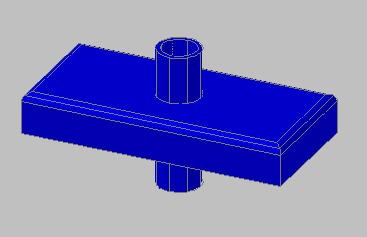
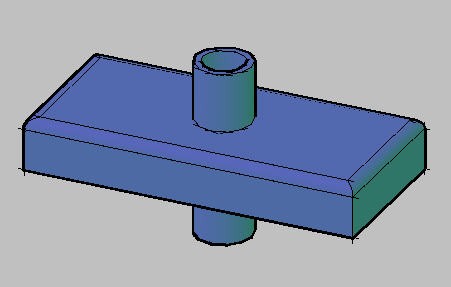
In 3D drawings, you’ve had some display options for years: wireframe, hidden, and various types of shading. These were the SHADE or SHADEMODE options on the View menu. AutoCAD 2007 introduced a new concept: visual styles. The main difference is that you can customize them to create your own visual style.
AutoCAD comes with several preset visual styles which are comparable to the old SHADEMODE options:
* 2D Wireframe: Like the 2D Wireframe of previous versions, it uses the 2D model space background.
* 3D Wireframe: Uses a shaded UCS icon and the new 3D background, which is gray by default.
* 3D Hidden: Like the old Hidden display.
* Conceptual: Shades objects using the Gooch method of shading (developed by Bruce and Amy Gooch). A non-photo-realistic style, using gradations of warm and cool colors. Conceptual shading is very pretty. This model is shades of green and blue because the layer is blue. Try out other colors to see the results.

* Realistic: Displays materials that you add. Without materials, it is like the old Gouraud shading with edges.

AutoCAD 2011 introduced several additional preset visual styles.
Follow these steps to create your own visual style. Ours will be similar to the Conceptual style, but with heavier outlines, and overhang and jitter effects.
1. Create a layer whose color is blue and make it current. (You can use any color, but black/white doesn’t show off the shading very well.)
2. Create the model shown earlier or use one you have. You’ll see the results best if you include some curved faces.
3. Click the View tab, then click Visual Styles Manager in the Palettes panel.
4. Right-click the Conceptual swatch choose Copy.
5. Right-click anywhere in the swatch area again and choose Paste. (To start from scratch, click the Create New Visual Style button in the palette’s toolbar. This creates a style that is similar to the Realistic visual style.)
6. Right-click a third time and choose Edit Name and Description. Name the visual style Outlined Conceptual and enter a description. I used Conceptual with outline, overhang, jitter
7. Scroll down to the Edge Settings section. Set the Show value to None.
8. Change the Silhouette Edges-Width setting to 6.
9. In the Edge Modifiers section, click the Overhanging Edges and Jitter Edges buttons to turn on these features. The Overhang value changes from -6 to 6.
10. Select the model.
11. From the View tab, choose Outlined Conceptual from the Visual Styles drop-down list to see the result.

Note that visual styles are saved with the drawing. In order to make a visual style available in other drawings, save the drawing as a template, or open your template and save the visual style there. In the Visual Styles Manager, there’s also a button to Export the Selected Visual Style to the Tool Palette.
- Combine or subtract 2D shapes to create custom shapes - February 17, 2022
- Working with linetype scales - January 18, 2022
- Rename named objects–blocks, dimension styles, layers, and more - December 21, 2021

 Instagram
 LinkedIn
 Facebook

Thanks Ellen for the 3D / 2D tips. Refreshing to get ahead with these tips, enthusiasm rising again.
[…] Tutorial: Create a custom visual style in AutoCAD Transparently enter 3D Orbit in 2007 […]