AutoCAD wants you to keep your templates in the Template folder, but you may have different ideas. For example, you may have custom templates that you want to keep in a separate location.
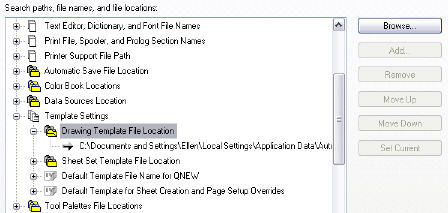
However, in the Files tab of the Options dialog box (Tools > Options), you find that you can’t add an additional location for a template, because the Add button is not available, as you see here.

You can get around this limitation by creating a shortcut to another folder in the Template folder. You do this in Windows Explorer. Follow these steps:
- Find the folder where your AutoCAD templates are stored. Open the Options dialog box, click the Files tab and expand the Drawing Template File Location item as shown above.
- Browse to that location in Windows Explorer.
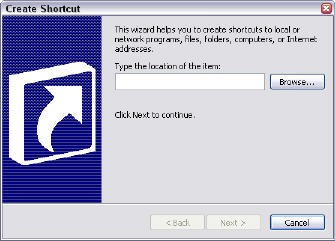
- In Windows Explorer, choose File > New > Shortcut. The New Shortcut wizard opens.

- Click the Browse button and browse to the folder you want to use for your templates. Click OK.
- In the wizard, click Next. Type a name for the shortcut and end the wizard. The shortcut appears in the file pane on the right. I created a shortcut to my AutoCAD Bible folder.
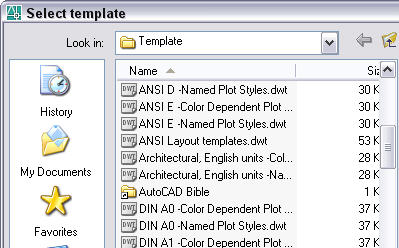
- Now, when you choose File > New, you see the shortcut in the Select Template dialog box, as shown here.

- Double-click that shortcut to display the templates in that folder.
- Combine or subtract 2D shapes to create custom shapes - February 17, 2022
- Working with linetype scales - January 18, 2022
- Rename named objects–blocks, dimension styles, layers, and more - December 21, 2021

 Instagram
 LinkedIn
 Facebook
Leave a Reply