One of the exciting new features of AutoCAD 2007 was to allow you to use the SLICE command to carve a solid with a surface. Previously, SLICE was limited to planes. Because you can create such interesting surfaces, you can now carve out solids to make solids that appear molded.
Follow these steps:
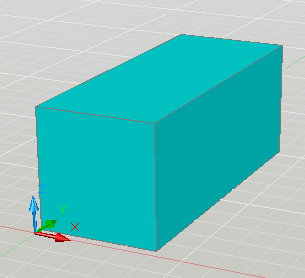
- Create the solid. Here, I started with a simple BOX.
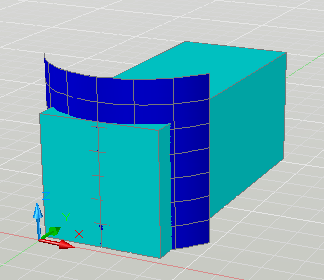
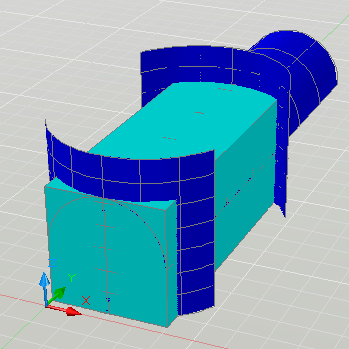
- Create the surface. I suggest creating a different layer with a contrasting color for the surface. I started with an arc. Then I moved it into place and used the EXTRUDE command. While extruding, I simply dragged it so that it cleared the top of the box.


- Start the SLICE command. It’s on the extended section of the 3D Make control panel of the Dashboard so you have to click the double-down arrows to find its icon. Or just type it in.
- At the Select objects to slice: prompt, select the box (or other solid). Press Enter to end object selection.
- At the Specify start point of slicing plane or [planar
Object/Surface/Zaxis/View/XY/YZ/ZX/3points] <3points>: prompt, choose the Surface option. - At the Select a surface: prompt, select the surface you want to use for slicing.
- At the Select solid to keep or [keep Both sides] <Both>: pick the side you want to keep. I picked the larger portion of the box.
- Repeat the process for other surfaces if you had more than one.
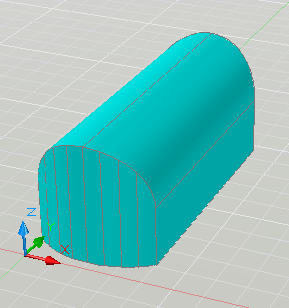
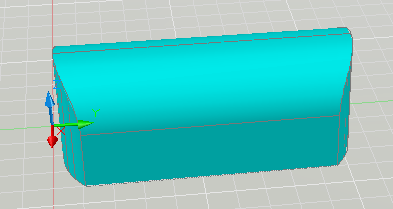
- When you’re done, turn off the surface layer to see the results. Here you see it from two different viewpoints.
Latest posts by Ellen Finkelstein (see all)
- Combine or subtract 2D shapes to create custom shapes - February 17, 2022
- Working with linetype scales - January 18, 2022
- Rename named objects–blocks, dimension styles, layers, and more - December 21, 2021

 Instagram
 LinkedIn
 Facebook
THANK YOU!
Looks nice….BUT… What if the surface to be used to slice is a corridor surface? The Slice command do not recognize it as a cutting edge….
It was useful as a beginner
only thanks… all of we can say