
Some of you might say this blog is common sense or such a simple one. But hey, sometimes all the simple ones are being forgotten.
By the way, my name is Johan. I am a licensed Architect and user of Autocad for years. I would like to share with all of you some tips that I find really useful in setting up your AutoCAD software after installation. Why? So when you start doing your projects, it will be easier as your standards are already made. It will also be less time consuming because you don’t have to set it up every time you have a new project. You just have to make a copy and rename them.
- Settings
(by the way, in my displays below, I am using Autocad 2018, most of the time, in lower versions, commands are under the same tab/menu/toolbar)
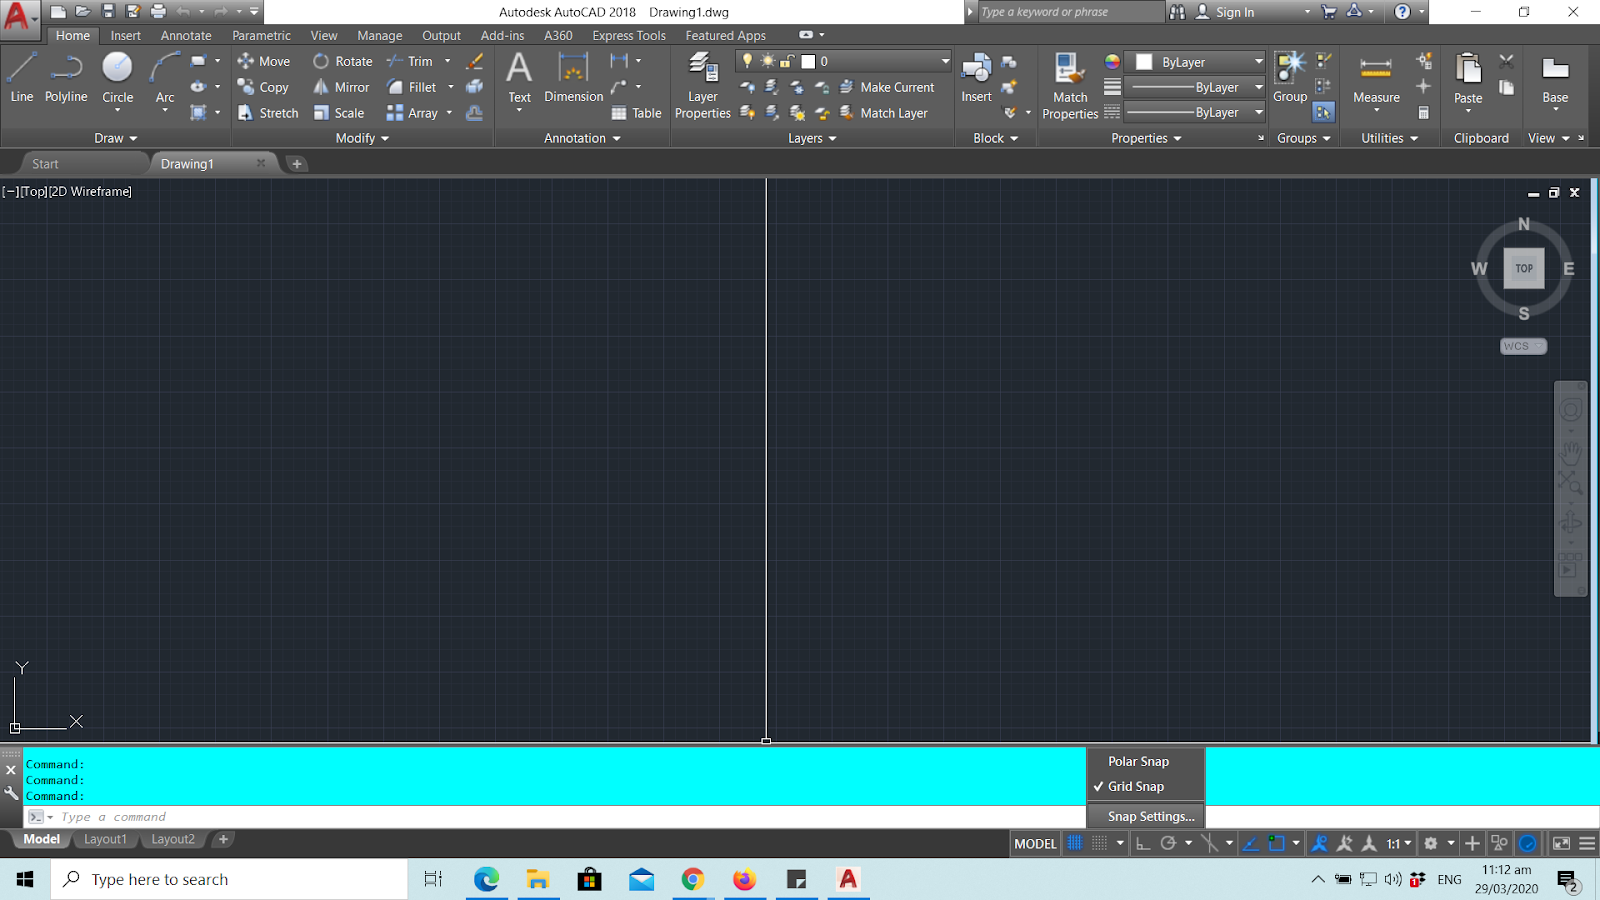
> Go to Snap settings from Status bar
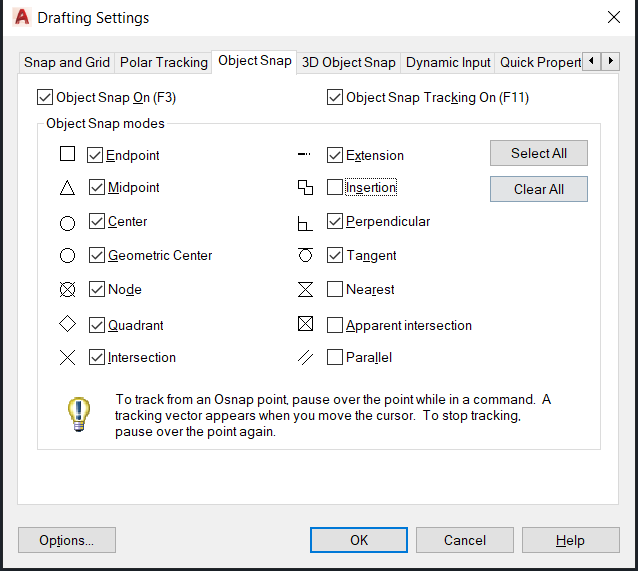
> Go to Object Snap, it is preferred that you check all except for Insertion, nearest, apparent intersection, and parallel. This will make your life in the future easier and you seldom used them anyway.
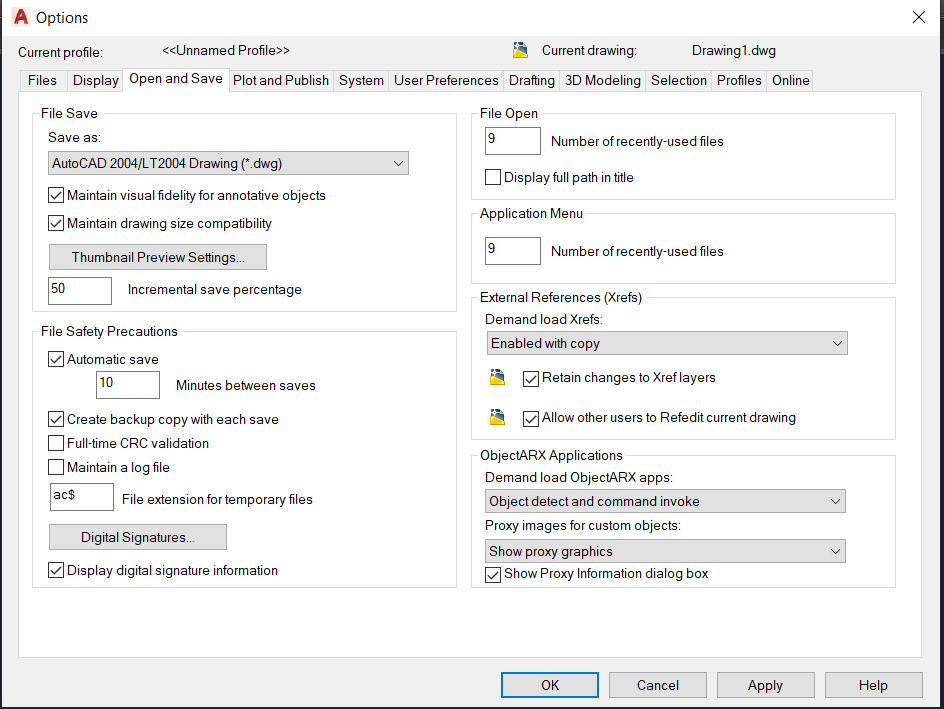
> Then go straight to “Options” without hitting “Ok”
> Click “Open and Save”
I advise that you always have your AutoCad be saved in other versions so just in case you are sharing it with others who don’t have the same version as yours, they can still open it.
Also make sure that the box for “Automatic Save” is checked, then you can customize the time either 5, 10, 15 minutes, or so… This is to make sure all of your work is saved in case an internal error occurs. But I would say, 15 minutes is fine.
Just leave the rest as is – on default.
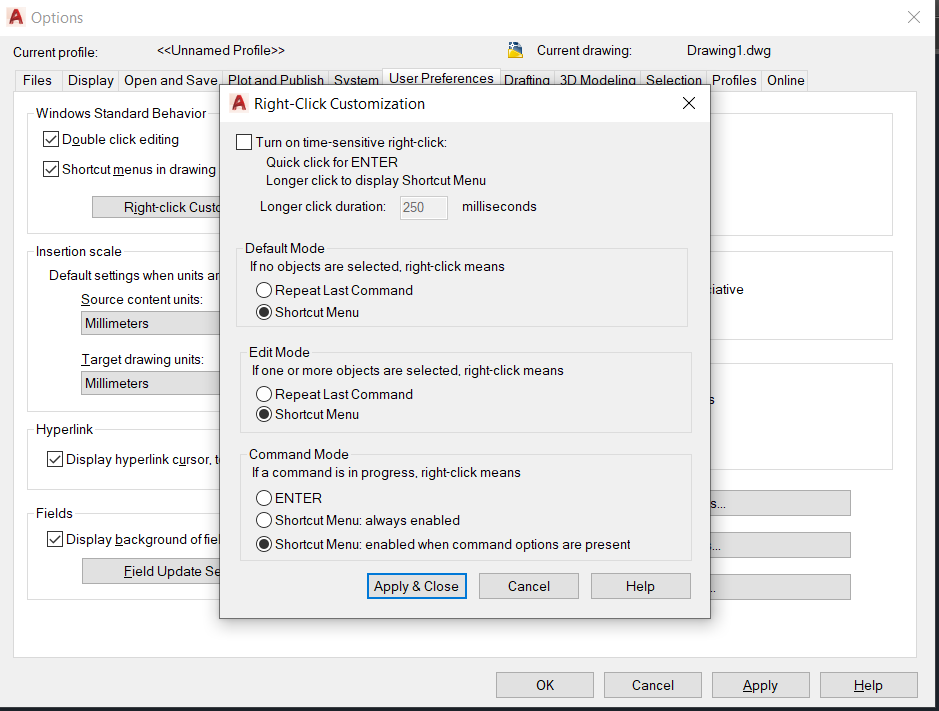
> Jump to “User Preferences”. Click on the “Right-click customization”. Tick all “Repeat Last Command” and “Enter” then apply and close.
This is quicker in repeating the last command you typed in by hitting the right click of your mouse.
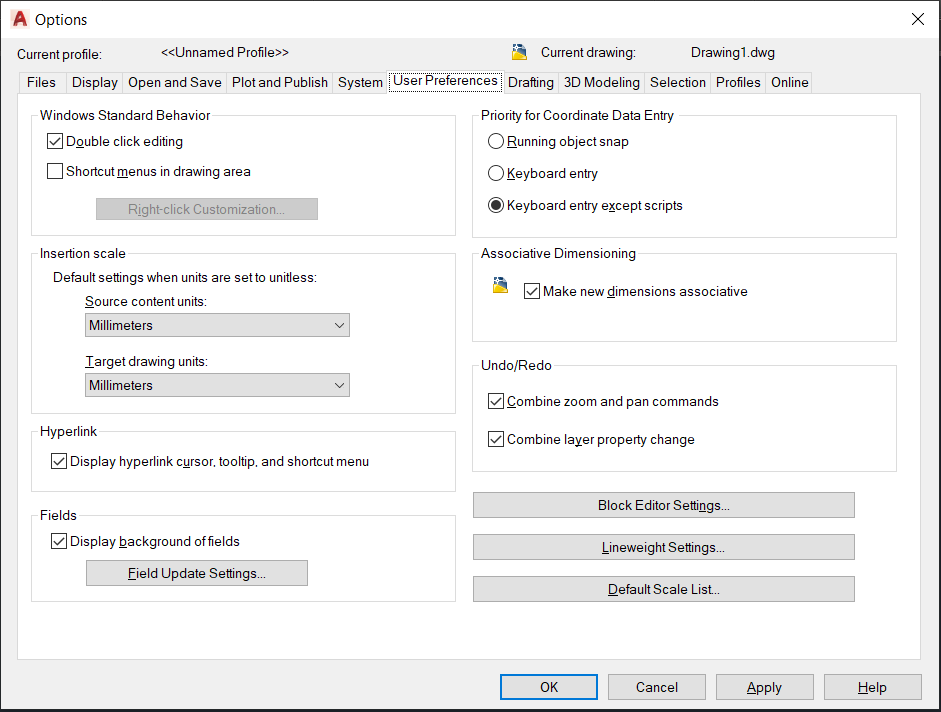
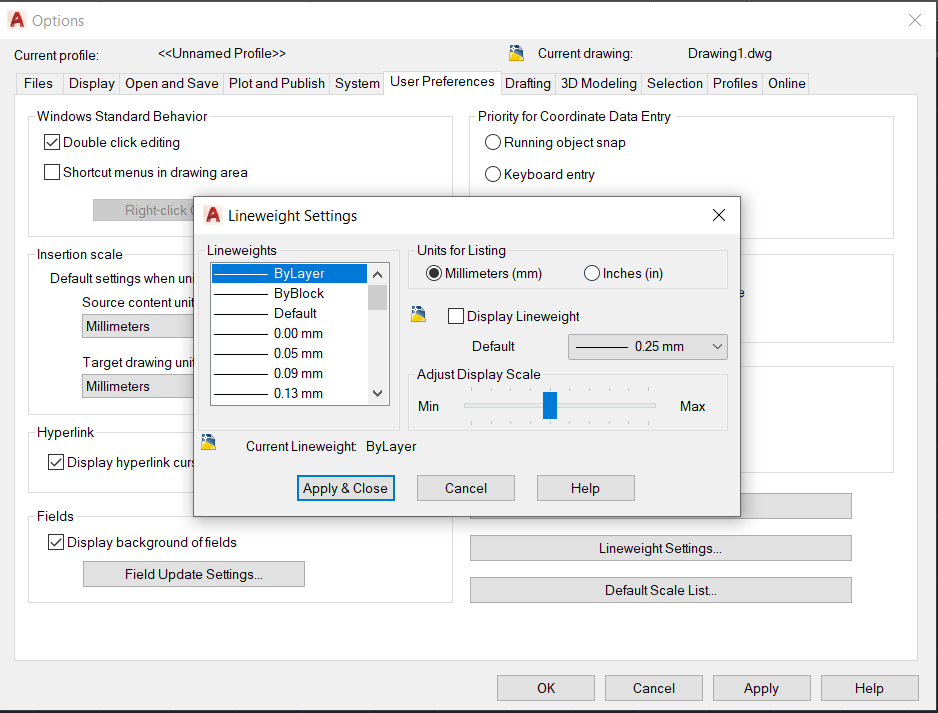
> As for Insertion scale, you can change it depending on the unit of standards in your country, either Metric – meters/millimeters or English – feet/inches.
> Also under this tab, it is always better to have your Line weight Settings in “By Layer”.
Additional Tip: You might want to extend your crosshair like this
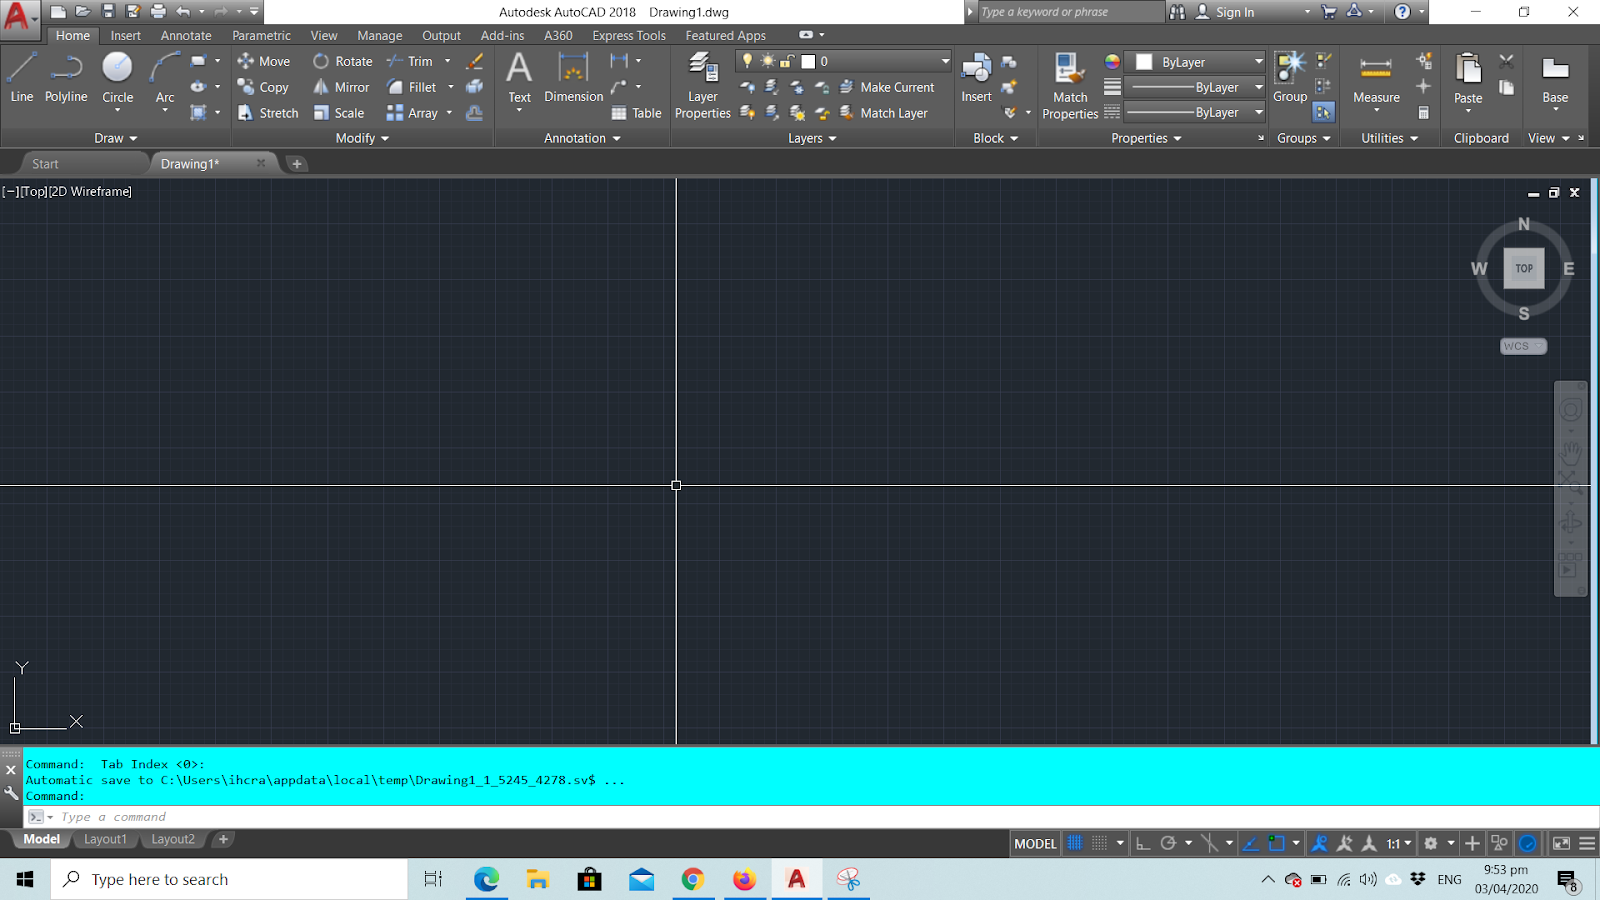
That way, it’ll be easier to see things aligned if you are pasting different figures here. Just go to “Display” tab and adjust the Crosshair size to 100.
2. Customizing CTB
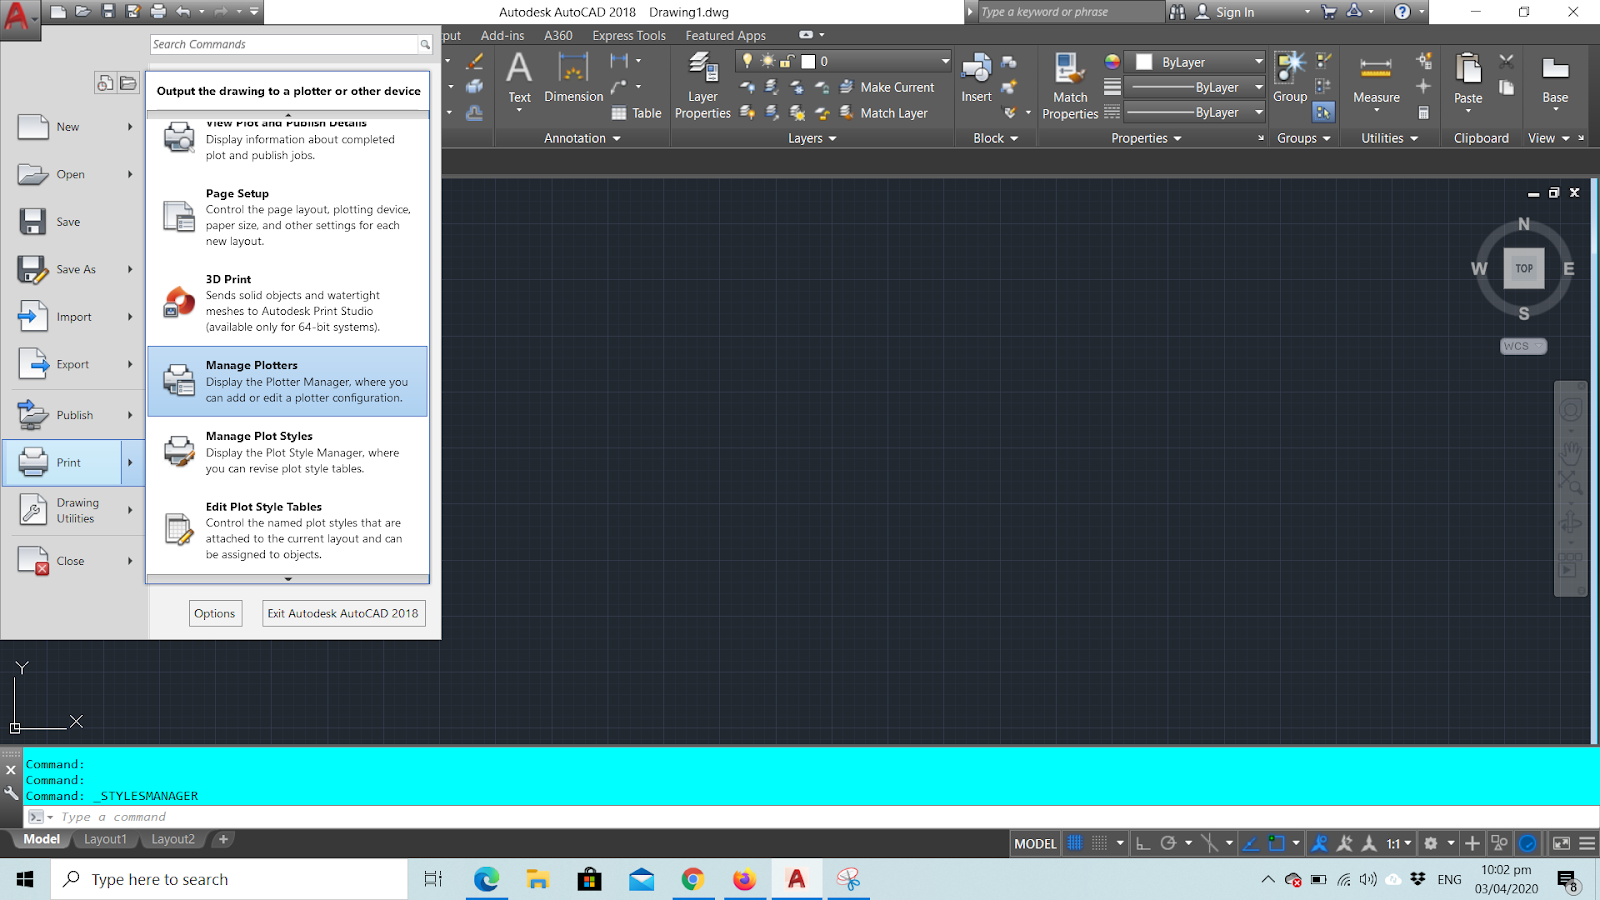
Now, there are 2 ways of getting here. A. is through “Plot and Publish” tab, then click “Plot Style Table Settings” then “Add or Edit Plot Style Tables”
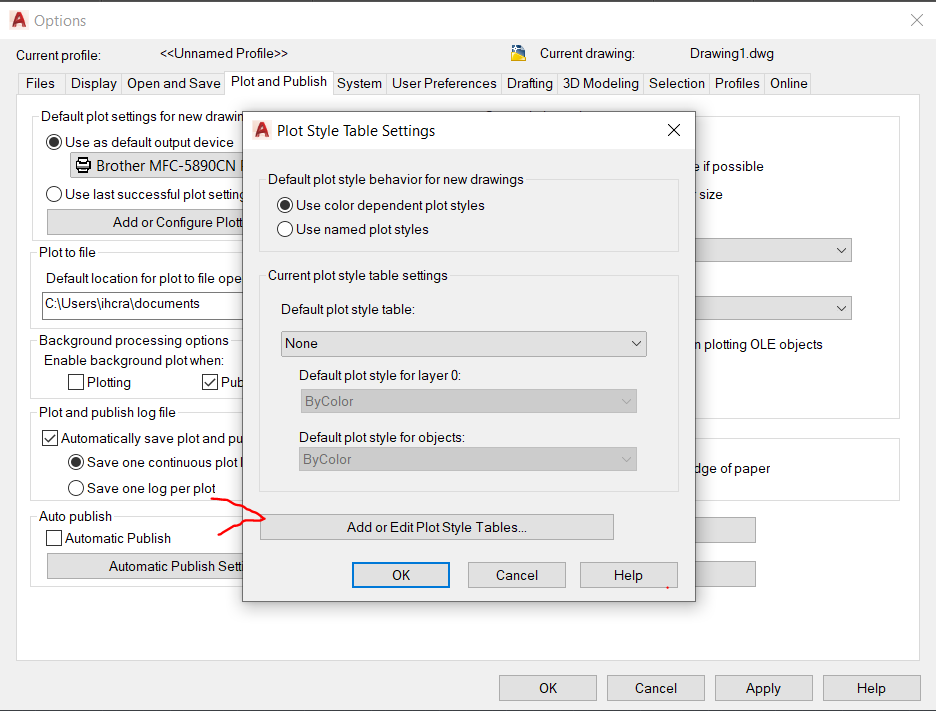
Or B. through the File menu > Print > Manage Plotters
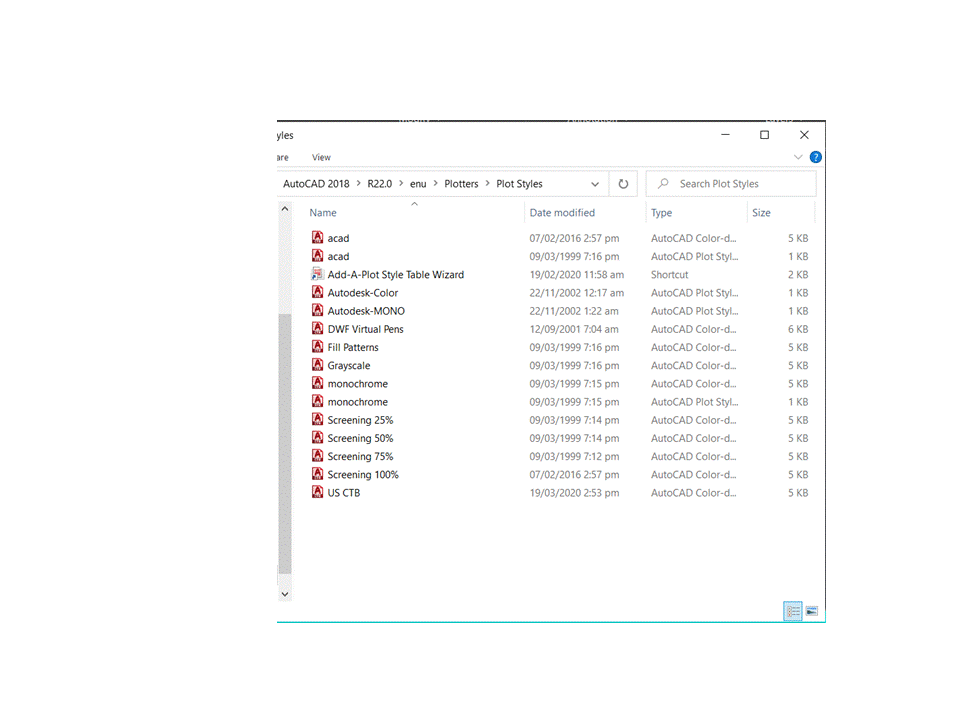
Copy any of the CTB here with label under Type as Autocad-color dependent plot style table file, and it will open like this
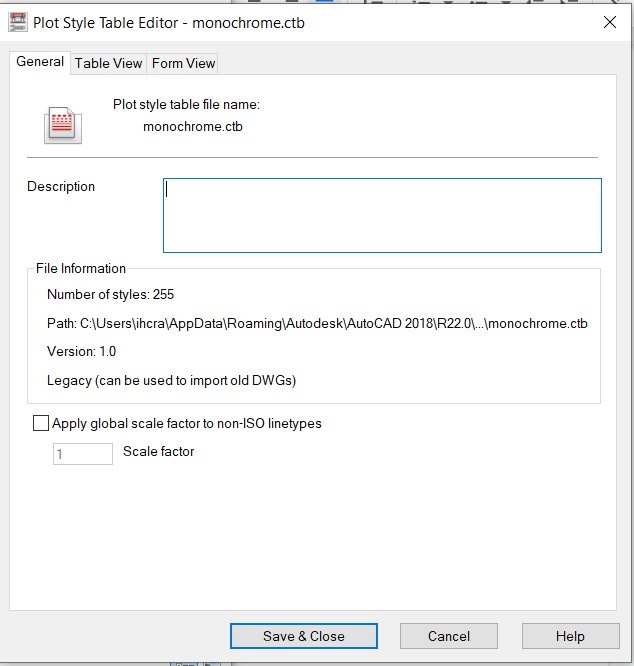
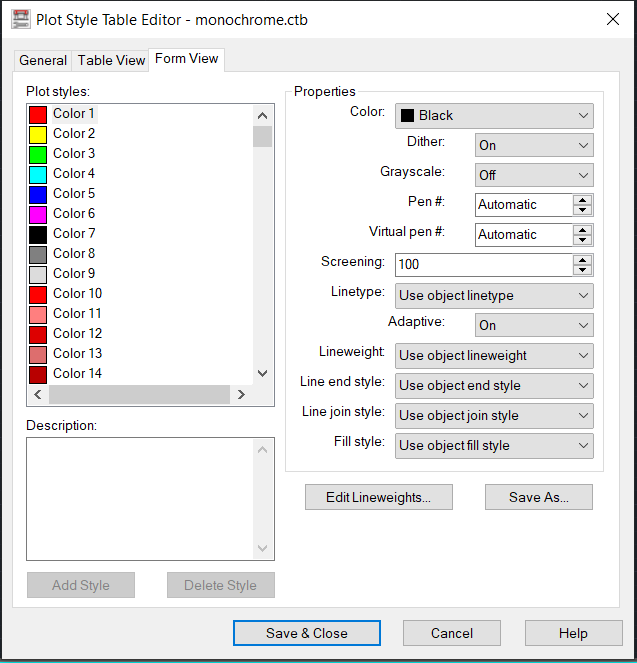
Put the color on black as default, then you can assign your Lineweights per color. From the thinnest pen to the thickest one. And then hit “Save as” and create a name for that CTB you just made so you still have this default one that you opened. And it is advised that you save it at the same location of the folder where all CTBs are. So when you plot, it will reflect once you print for you selection of CTB.
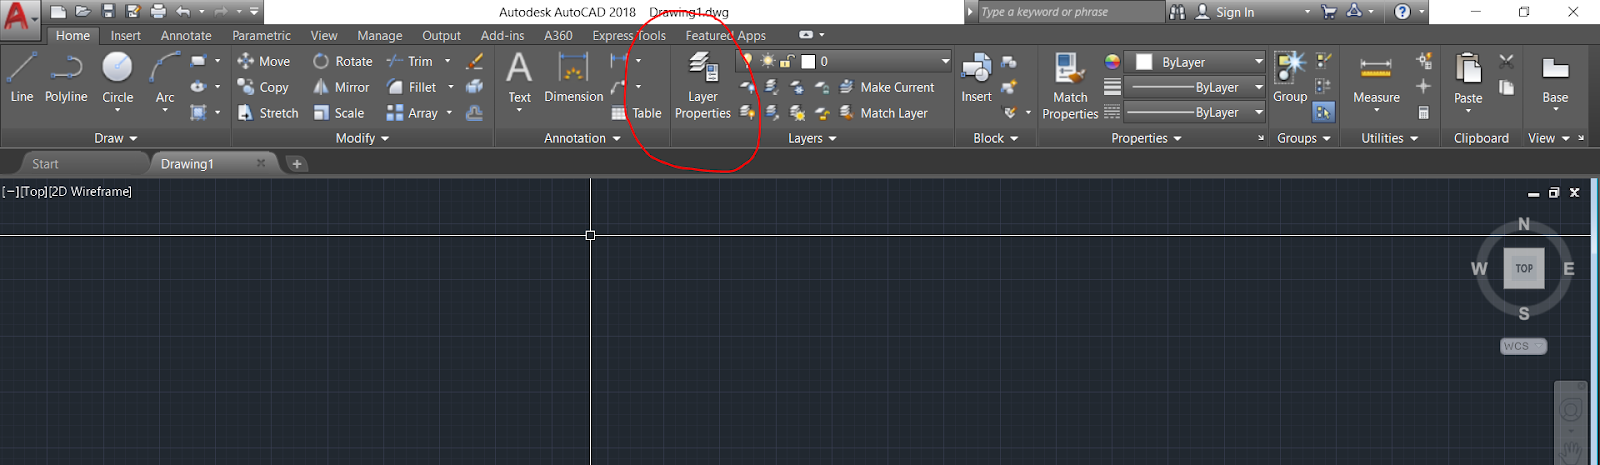
3. Setting your layers
> Go to “Layer Properties”
Click on the first icon in the center to create your first layer
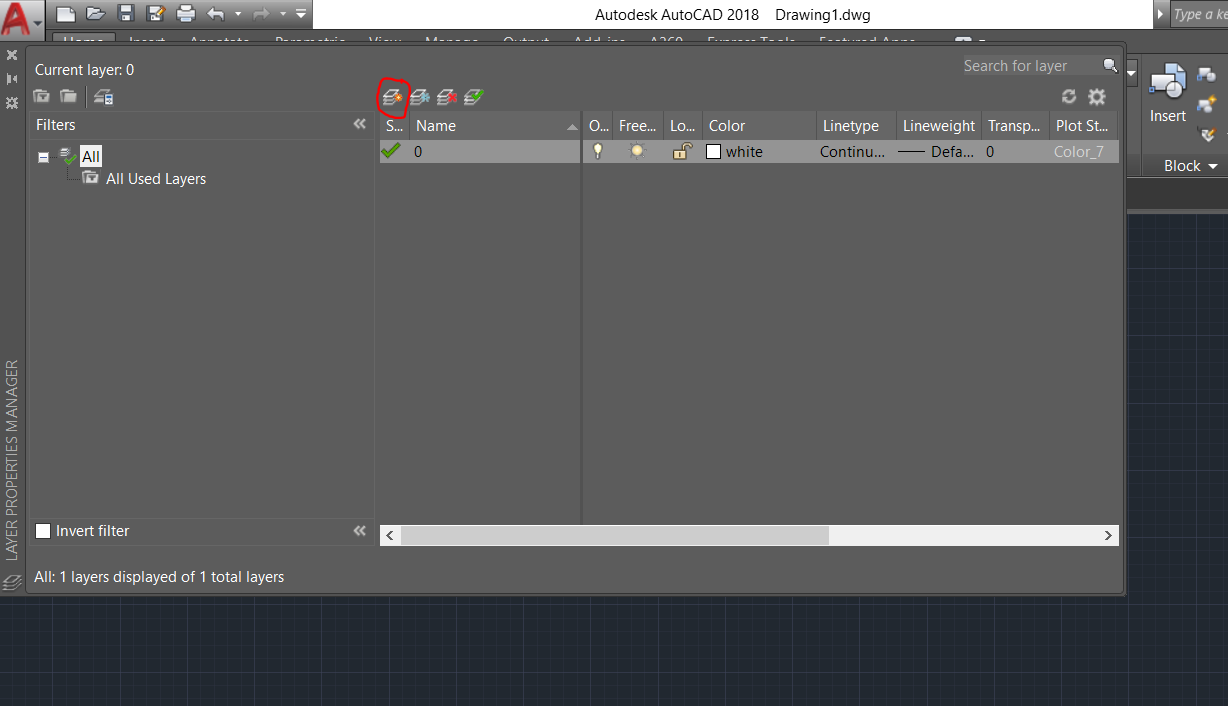
Just go ahead
Just go ahead and make your layer and color pen assignments.
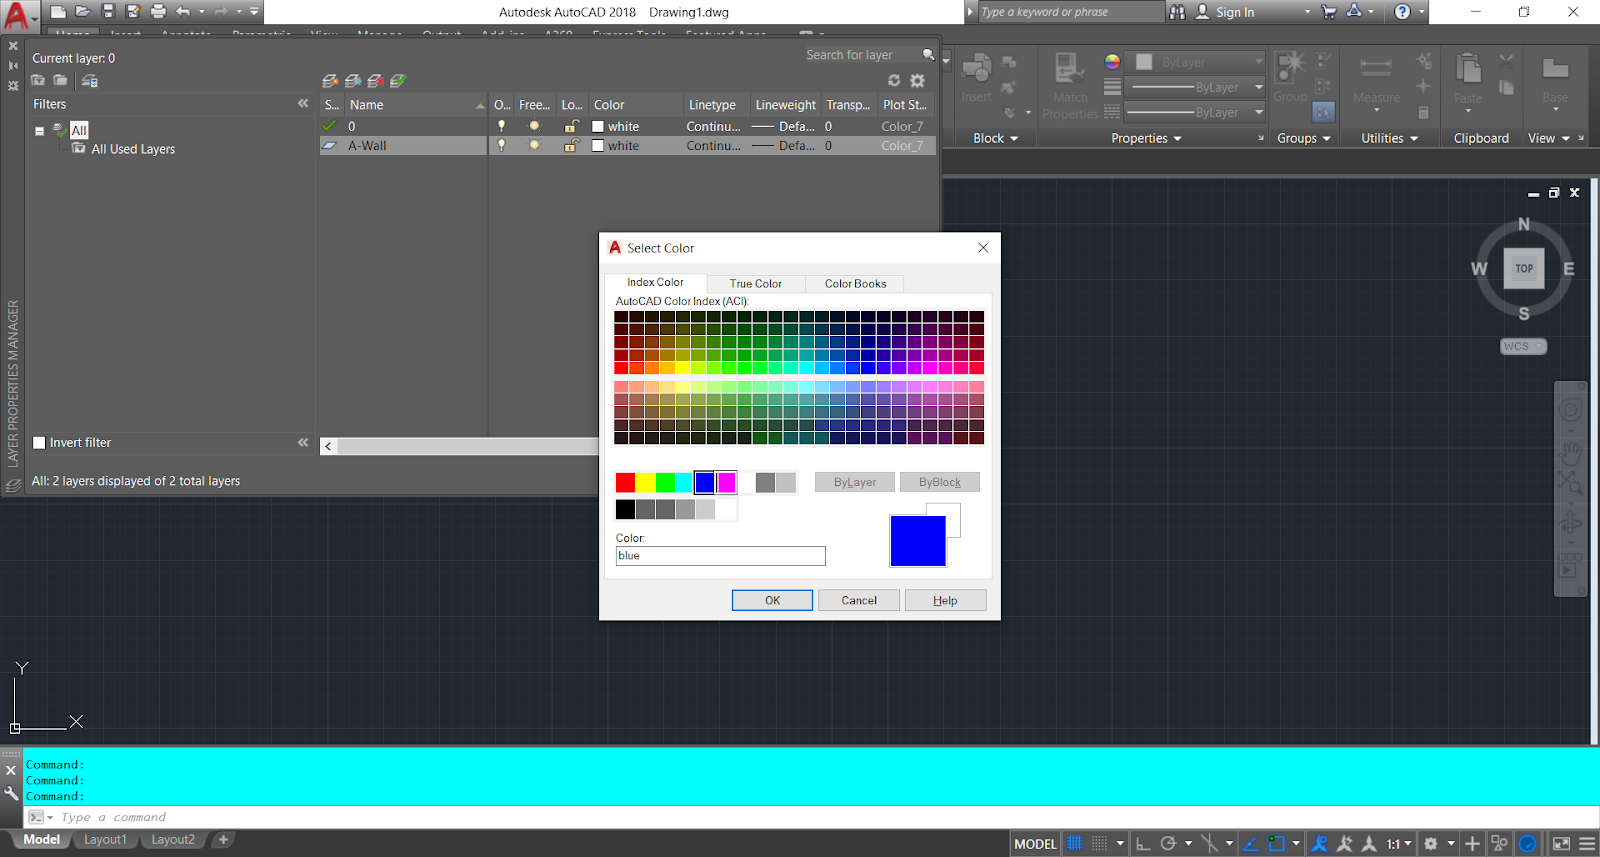
Assign the colors according to the CTB you made that also corresponds to your Line Weights.
And repeat the same steps to add more layers.
This is it for now for. We’ll continue on our next blog for another tip. Till the next. If you have any questions, feel free to message here.

- How to set-up AutoCAD Software upon Installation - April 15, 2020


Leave a Reply